|
|
Post by comfysofa on May 6, 2015 11:34:33 GMT
Ok - just to break it up a bit (my ongoing journey of mods) this is the next one. The block off plate install. The reason you need this is purely from a tuning point of view. The block off plates stop the popping and what not when the throttle is shut off when aftermarket straight through pipes have been installed. Also, when the bike is dyno'd the dyno reading is more accurate as fresh air is not being pumped back in to the system affecting the results. Another non tuning reason is that theres a load of hosing that doesn't need to be in there and once the plates have been installed it can all be ripped out, so, if you want to take your bike for a formal service itll keep the mechanics happy as theres less in there for them to get through.... Heres the kit....this is from the previous generation zed....
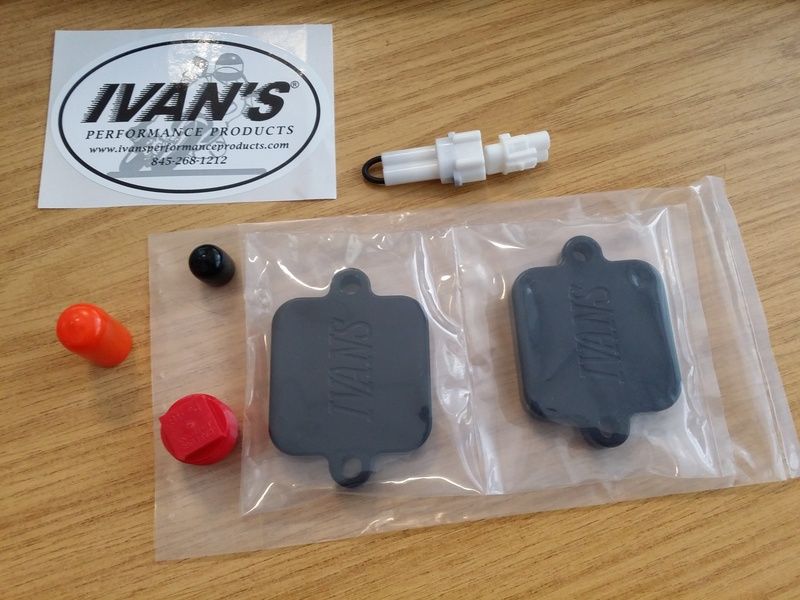
Once this is fitted itll be air filter next but ill be going through the air filter to do this....I may even get it on order today, save doing the job twice as it were....ill throw up some photos once I get stuck in.....edit - just ordered the air filter as well....may as well do both while im in there.... |
|
|
|
Post by comfysofa on May 6, 2015 13:45:47 GMT
Just to add to this ive no idea where any of this stuff goes (block off plates go on top of the rocker cover apparently) so im in the dark just like anyone else that's done this, Ive had the tank up while it was going through its last build but no more than that....however ive done the block off plate job on my RSV4 which was categorically the worst job ever.....
|
|
|
|
Post by maxz1000 on May 7, 2015 6:17:11 GMT
This will be part of the Kleen air system and the block off plates will be on the cam cover above the exhaust cams. You will have to plug the line from the air box also.
|
|
|
|
Post by comfysofa on May 7, 2015 9:18:07 GMT
Yeah - that's what the plugs are for I gather....see what happens when I get in there....
|
|
|
|
Post by maxz1000 on May 7, 2015 13:24:45 GMT
Different model of Kawasaki, but gives you the idea   |
|
|
|
Post by comfysofa on May 7, 2015 15:11:03 GMT
That looks like a right mess....well, at least there'll be more weight coming off of it!! - Win!
|
|
|
|
Post by maxz1000 on May 8, 2015 5:32:47 GMT
|
|
|
|
Post by comfysofa on May 8, 2015 17:54:01 GMT
Air filter turned up today!
|
|
|
|
Post by comfysofa on May 9, 2015 19:45:41 GMT
Ok - all done.....sorry - didn't take any strip down photo's - totally forgot....heres what I did take though..... 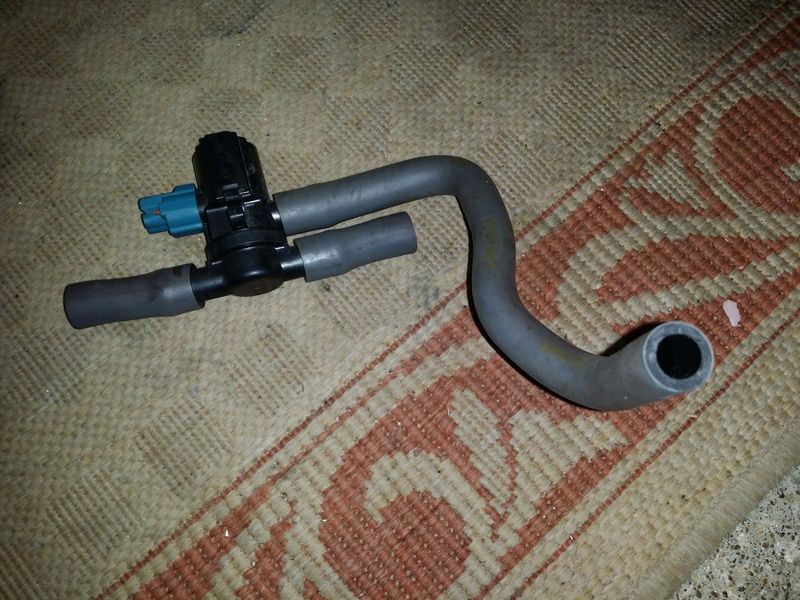
Ok - so, theres the offending part out...I thought there would be more but that was it.... There was a big rubber sheet over the top of the engine that made it difficult to explain but essentially the two plates are on the top of the rocker cover head, off of this comes 2 pipes into some sort of solenoid and then into the airbox.....unplug the thing, replace the plug with the one supplied, job done. I used blue thread lock and stainless bolts on the new plates. If you can see what youre looking at this is the plate (though the black rubber) 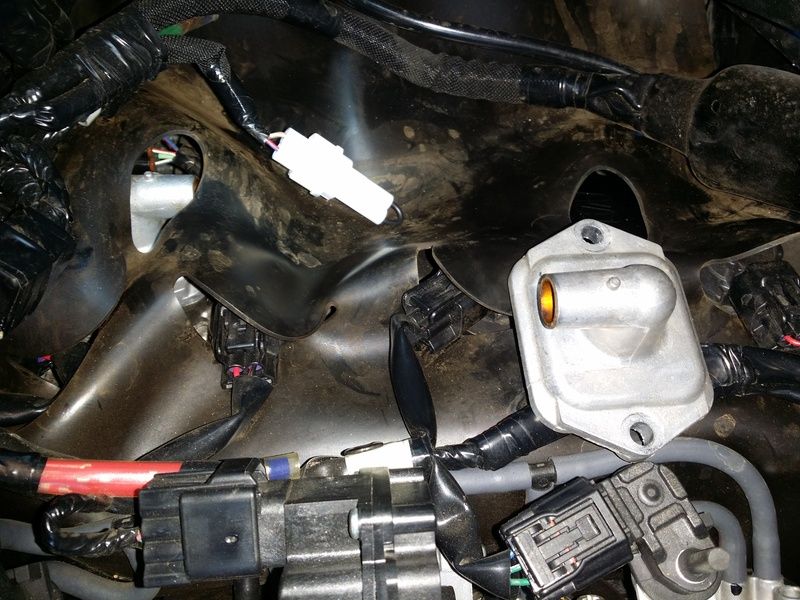
Heres the airbox going back in, orange bung on the airbox to plug the hole.... 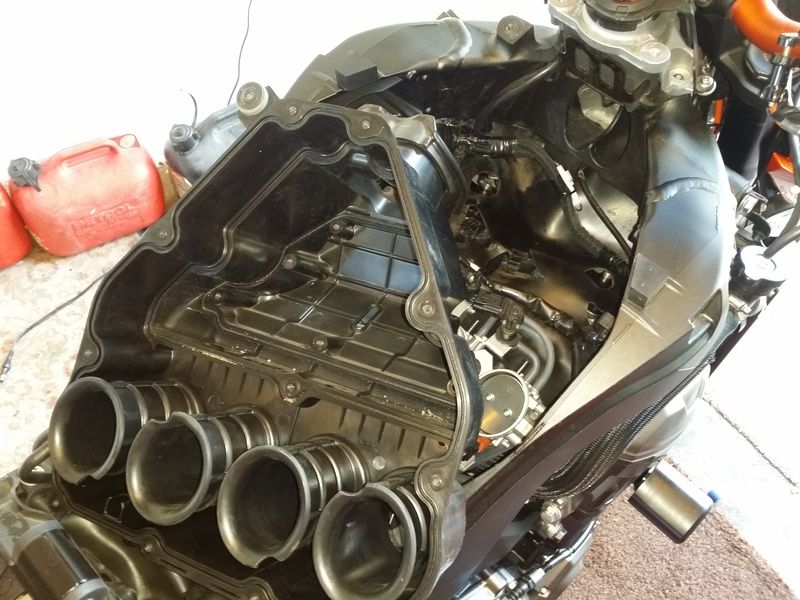
Not sure what this plate does - goes in underneath the air filter, phoned SG Motorsport and they think it smooths the air out as it goes through the airbox.... 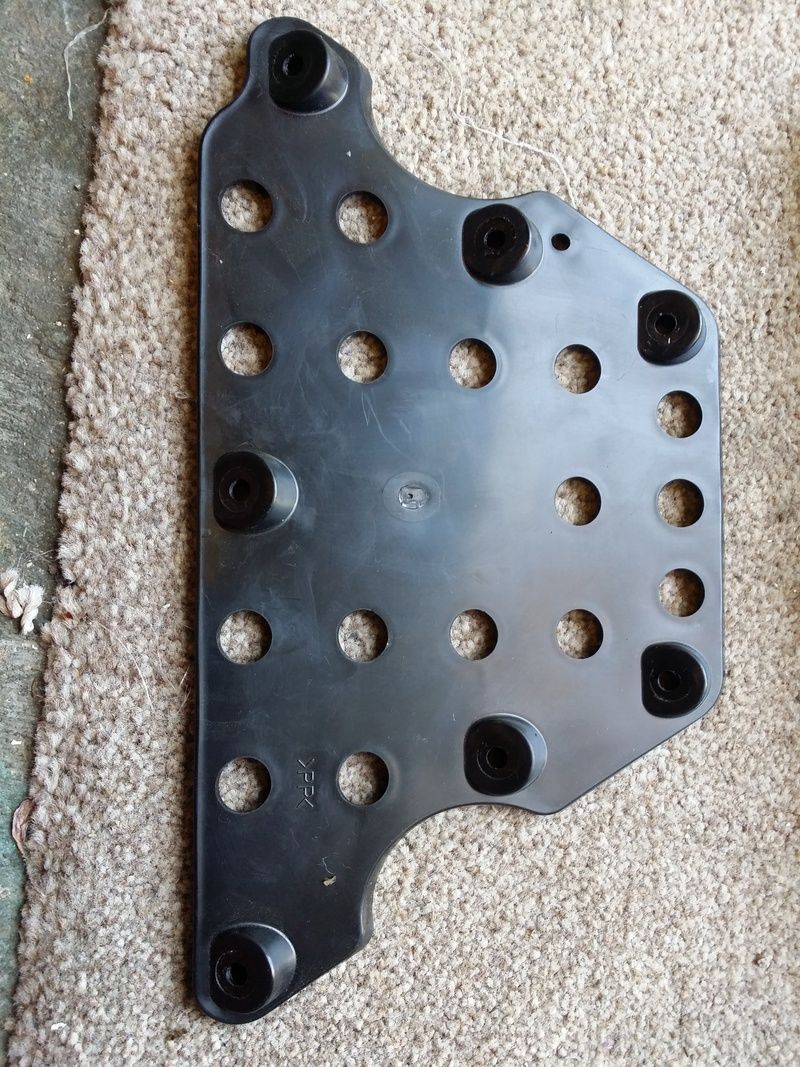
|
|
|
|
Post by comfysofa on May 9, 2015 19:49:08 GMT
Thought id break the post up a little...anyway....once the airbox is seated back on you need to do up these bolts on each side of the throttle bodies.... 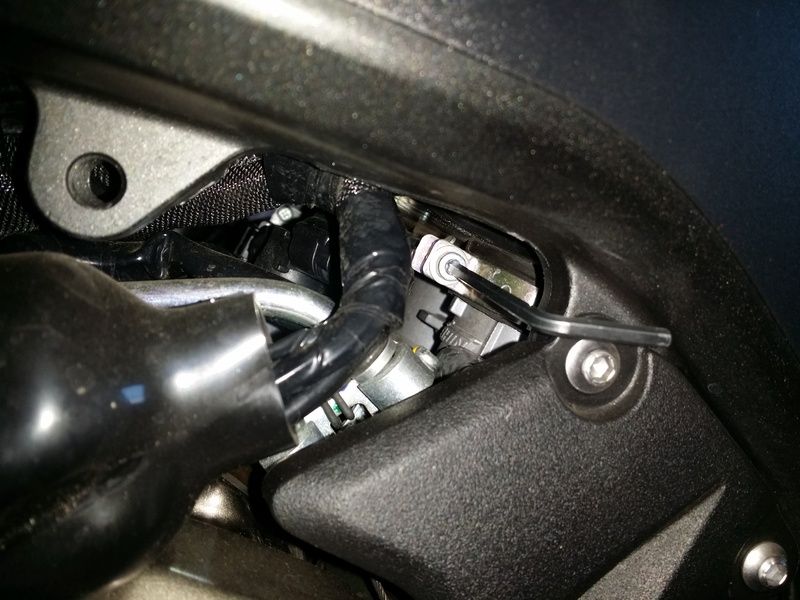
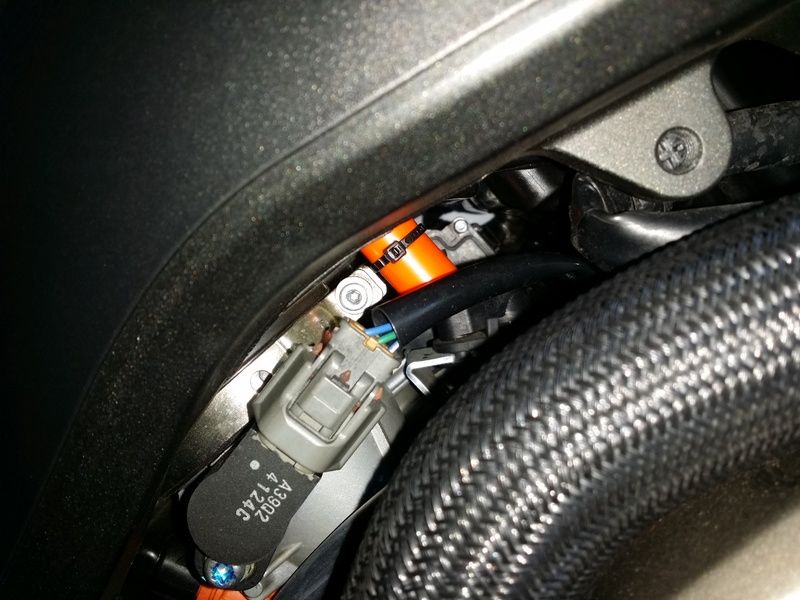
Theres that strange plate back in... 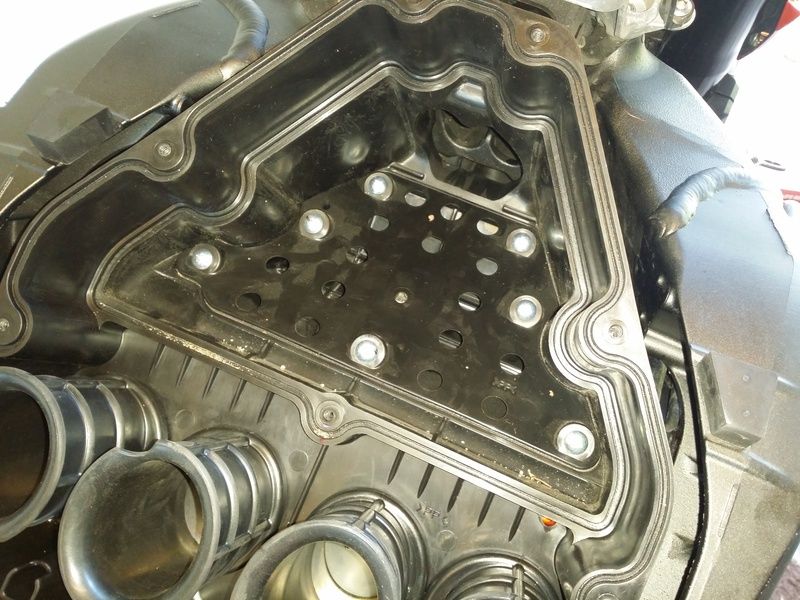
New K&N in there...which as you can see sits above that black plastic plate.... 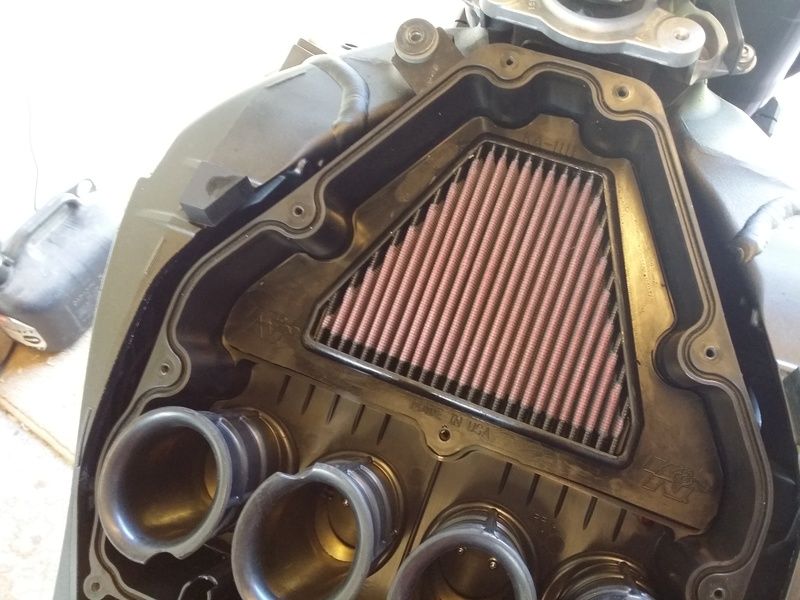
|
|
|
|
Post by comfysofa on May 9, 2015 19:52:47 GMT
Airbox cover back on.... 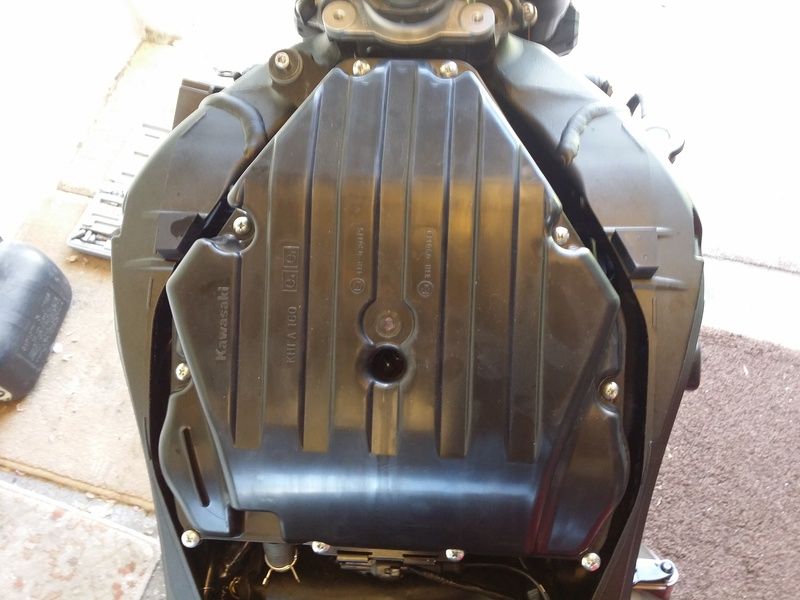
Oh - theres the underside of the airbox with the hole that you plug.... 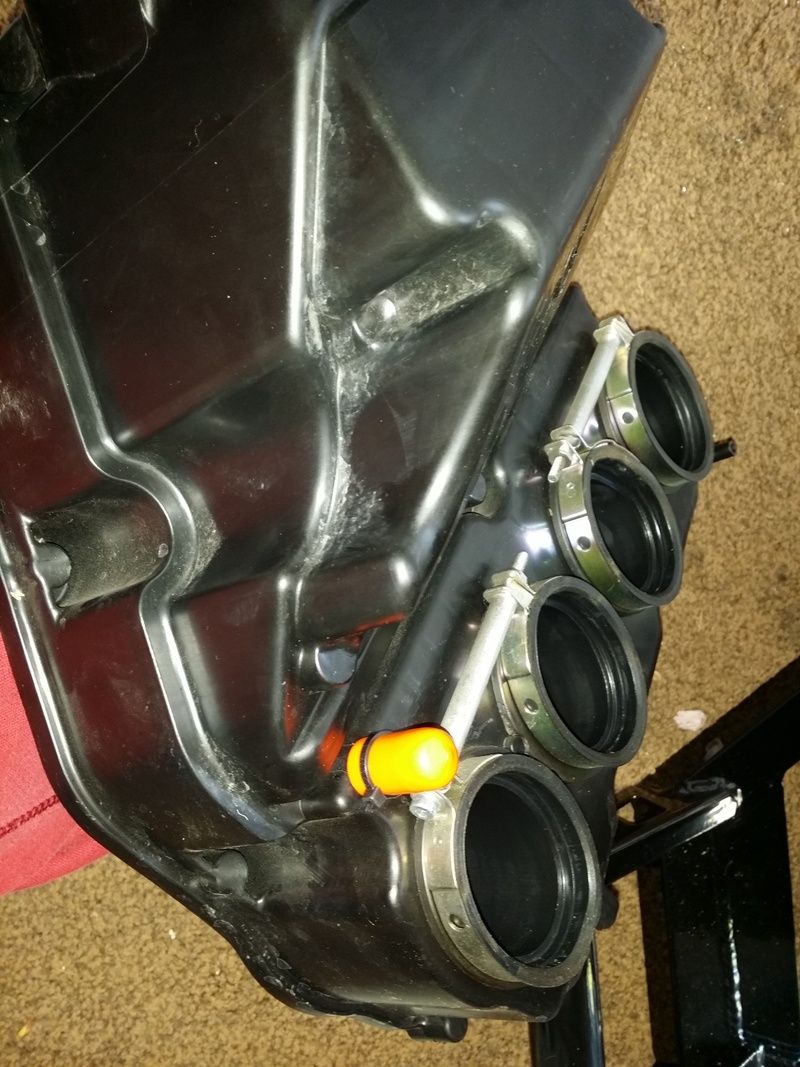
Once the airbox cover is back on its a case of putting the tank back on and then bolting all the fairing back on.
Result: Definitely worth the 40 quid for the kit....all the poping and banging has 95% gone now (it makes a hell of a noise as it is but it makes a little less noise now!) plus its ready now for possible dyno work - depending on what ivan over in the us comes up with, or, if my mate sorts himself out....don't really mind which comes first but id lean towards the custom dyno map....that would yield the best results... |
|
|
|
Post by louisb on Apr 6, 2017 13:34:47 GMT
|
|
|
|
Post by comfysofa on Apr 6, 2017 13:37:53 GMT
If that's state side... Then no... I found somewhere down south in the uk that was selling them.... Tbh any block off plate kit will work... Some people just cut the pipe and stick a ball bearing in there but I wanted to do the job correctly... Just looking for them now....cant see them but you could try www.moorespeedracing.co.uk/motogadget-motorcycle-speedos-mirrors.htmltheyre really helpful. |
|
|
|
Post by louisb on Apr 6, 2017 13:53:42 GMT
|
|
|
|
Post by comfysofa on Apr 7, 2017 12:45:06 GMT
Yep - theyll do!! - its weird....some would say just plugging the hole interferes with it least but it was never designed to have all that s**t in there in the first place!! Did the same job to my mates RC8r last week...bikes, lighter (not by much but it all helps) plus theres more airflow through the system and if you go that far then a dyno operator will like it too as the sas system doesnt mess with the dyno readout. When i pulled all the sas stuff out from my rsv4 it ran 5 degrees cooler as all the pipework and crap was sitting inbetween the barrels (v4 config) - i cant see a downside myself...!
|
|
|
|
Post by trebor4460 on Apr 12, 2017 19:17:30 GMT
i pulled the pipe to the air injection mechanism off at the Airbox end and blocked it with a bulb  and reconnected it.. works well, did it for the reflash then reversed it when done, and god did i miss that crackle on overrun, if i could bottle that crackle and sell it i would make a fortune.  |
|
|
|
Post by louisb on Apr 16, 2017 21:38:38 GMT
😀
|
|